
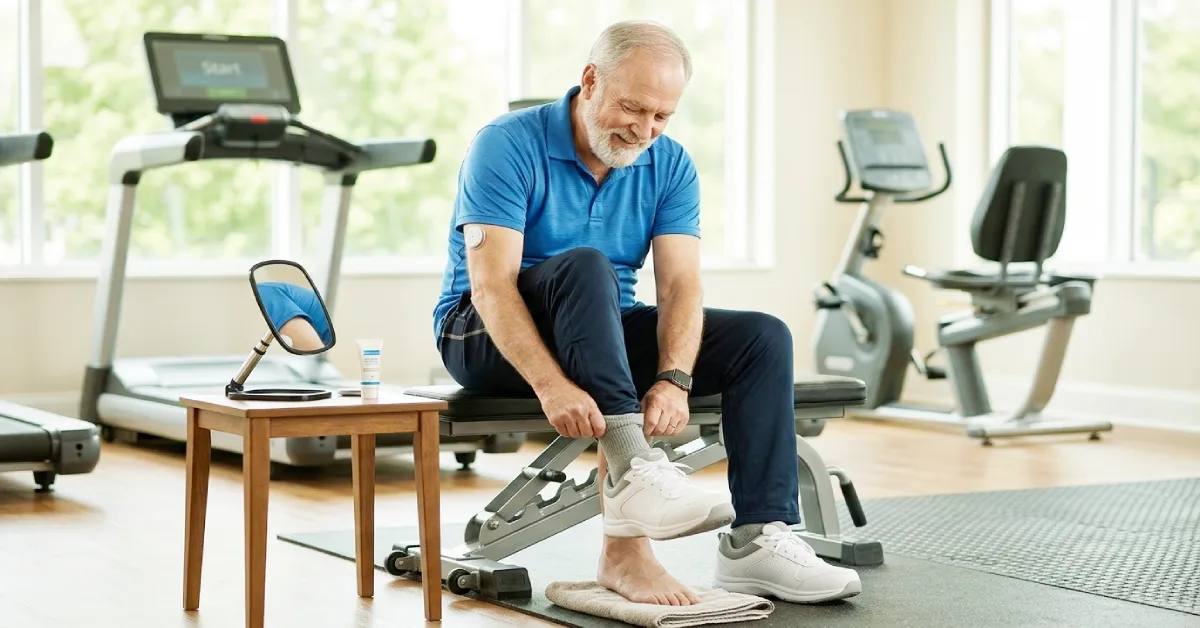
Mastering diabetes foot care while exercise testing is essential for active seniors who want to maintain mobility without risking nerve or tissue damage. Physical activity is one of the most effective ways to lower blood sugar levels and improve cardiovascular health. However, diabetes can significantly affect peripheral circulation and nerve sensitivity in the lower extremities. When seniors undergo stress tests, treadmill evaluations, or standard workout routines, their feet experience increased friction, pressure, and impact. Without proper preparation, suitable footwear, and protective gear, a minor blister can quickly escalate into a serious diabetic ulcer.
This comprehensive guide breaks down everything seniors and caregivers need to know about managing foot health before, during, and after physical assessments. From selecting specialized diabetic footwear to implementing post-workout hygiene routines, these proactive strategies ensure safe and effective exercise testing.
Why Foot Care is Critical for Seniors with Diabetes During Exercise
Exercise testing evaluates cardiovascular capacity and endurance, but it also places repetitive mechanical strain on the feet. For seniors living with Type 1 or Type 2 diabetes, this physical stress presents unique medical challenges due to two primary complications: diabetic neuropathy and peripheral artery disease (PAD).
1. The Masked Threat of Diabetic Neuropathy
Diabetic neuropathy causes nerve damage that leads to a loss of protective sensation in the feet. When healthy individuals wear tight shoes or develop a hotspot while walking, pain signals immediately alert them to stop. Seniors with neuropathy may not feel a rubbing shoe, a bunneled sock, or a growing blister. During an extended exercise test, continuous friction can rub away skin layers, leading to open wounds without the individual feeling any discomfort.
2. Reduced Blood Flow and Delayed Healing
High blood glucose levels over time can narrow blood vessels, impairing circulation to the lower limbs. Adequate blood flow is necessary to deliver oxygen and nutrients required for cellular repair. When a foot injury occurs during exercise, compromised circulation severely delays the healing process. What starts as a minor scrape can quickly transform into a chronic, non-healing ulcer susceptible to infection.
3. Biomechanical Changes and Pressure Points
Diabetes can alter foot structure over time, causing joint stiffness, claw toes, or flattened arches. These changes shift weight distribution across the sole. During high-impact exercise testing, abnormal pressure points emerge, making specific areas of the foot highly vulnerable to tissue breakdown.
Pre-Exercise Foot Inspection Checklist
Before stepping onto a treadmill, recumbent bike, or elliptical machine, seniors must perform a thorough foot examination. Establishing a daily pre-workout routine helps catch minor skin changes before physical exertion worsens them.
Quick Pre-Workout Checklist:
- Visual Inspection: Check the tops, soles, heels, and spaces between your toes under good lighting.
- Touch & Temperature: Feel for any localized warmth, extreme coldness, or subtle swelling.
- Skin Integrity: Scan carefully for red spots, blisters, calluses, corns, or open cuts.
- Nail Health: Ensure toe nails are trimmed straight across to prevent ingrown nail injury.
- Sock Assessment: Verify that your socks are completely clean, dry, moisture-wicking, and seamless.
Key Elements of the Pre-Workout Inspection:
- Visual Scan: Examine the entire foot under bright lighting. Use a handheld shatterproof mirror or ask a caregiver for assistance to view the soles and heels clearly.
- Skin Integrity: Look carefully for redness, localized inflammation, cracked skin around the heels, or fluid-filled blisters.
- Interdigital Check: Gently separate the toes to inspect for fungal infections, such as athlete’s foot, or moisture accumulation.
- Temperature Check: Pass the palm of your hand over both feet. Localized warm spots often indicate internal inflammation or early stage pressure sores, whereas severe coldness may suggest poor circulation.
Safety Warning: If you discover an open wound, active bleeding, or an infected lesion during your pre-workout check, cancel the exercise session immediately and consult your healthcare provider.
Essential Features of Proper Diabetic Exercise Shoes
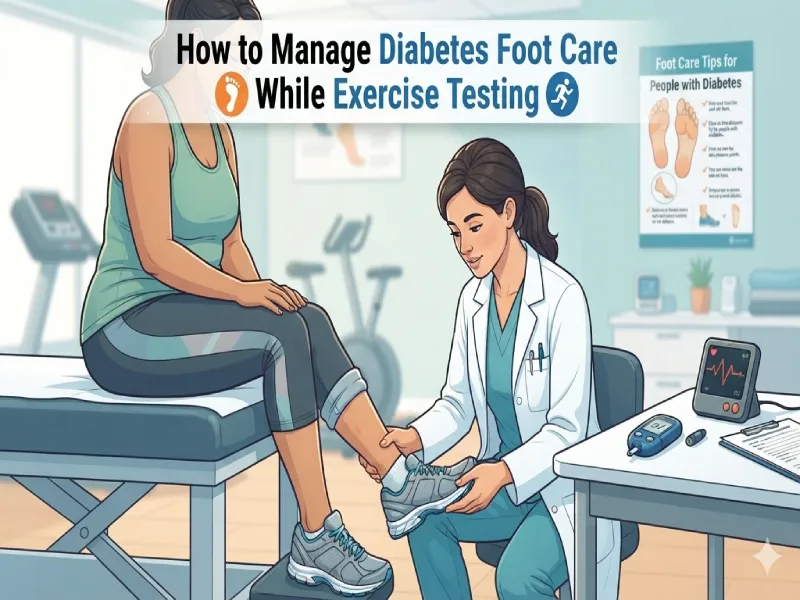
Not all athletic sneakers are suitable for seniors with diabetes. Shoes intended for exercise testing must meet strict therapeutic criteria to protect vulnerable foot tissue while providing structural stability.
1. Extra Depth and Wide Toe Box
Diabetic footwear must feature a deep toe box that accommodates natural toe splay and custom orthotics without pressing against the top of the foot. A wide toe box prevents lateral compression, reducing the risk of hammertoes and side blisters.
2. Seamless and Soft Interior Linings
Standard athletic shoes often have internal stitching across the toe cap or midfoot. Under repetitive friction, these seams act like sandpaper against fragile skin. Purpose-built diabetic shoes utilize smooth, padded, seam-free interior linings to eliminate friction hotspots.
3. Shock-Absorbing Soles and Firm Heel Counters
Exercise testing subjects feet to repetitive heel strikes. Rigid yet cushioned outsoles disperse impact forces evenly across the footbed. Additionally, a firm heel counter stabilizes the rearfoot, preventing overpronation and reducing ankle strain during movement.
4. Adjustable Closure Systems
Seniors should look for footwear with adjustable hook-and-loop (Velcro) straps or elastic quick-lacing systems. Feet naturally swell during physical exertion due to increased blood flow. Adjustable closures allow users to loosen their footwear mid-workout without compromising fit.
Footwear & Gear Comparison for Senior Diabetics
To help you choose the right gear for physical activity and testing, here is a breakdown comparing standard athletic gear with specialized diabetic footwear and accessories:
| Feature / Gear Type | Standard Athletic Gear | Specialized Diabetic Fitness Gear | Primary Health Benefit for Seniors |
| Shoe Interior | Prominent internal seams | Smooth, seamless padded lining | Prevents friction-induced blisters and ulcers |
| Toe Box Design | Narrow / tapered fit | Wide, extra-depth toe box | Accommodates toe deformities & custom insoles |
| Socks Material | Standard cotton blends | Moisture-wicking synthetic / bamboo | Keeps feet dry, reducing fungal & bacterial growth |
| Sock Top Band | Tight elastic band | Non-binding, stretchable top | Ensures unrestricted venous blood circulation |
| Insoles | Thin, flat foam pads | Custom molded multi-density orthotics | Redistributes plantar pressure evenly |
Essential Gear for Diabetic Foot Safety During Physical Activity
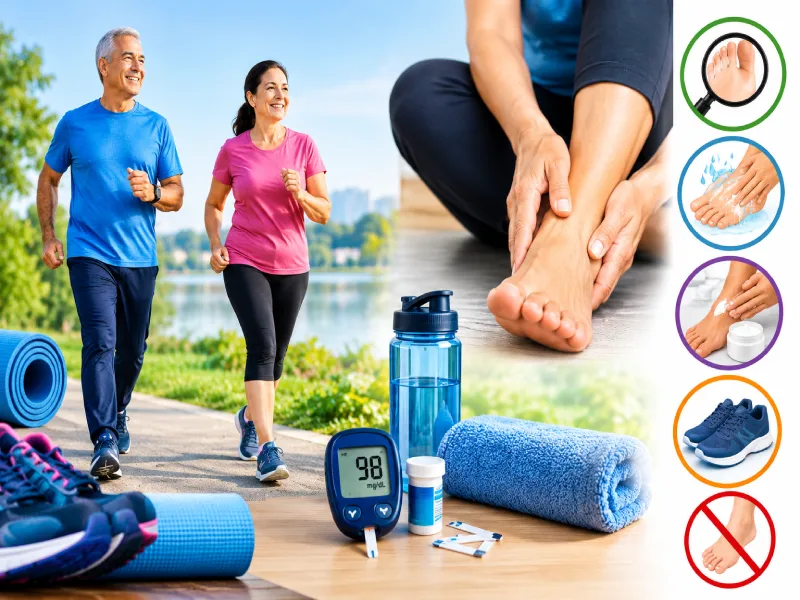
While supportive shoes form the foundation of protection, additional specialized gear plays a vital role in keeping senior feet safe during physical evaluations.
1. Moisture-Wicking Non-Binding Socks
Socks are the first line of defense against friction and moisture buildup. Seniors with diabetes should completely avoid standard cotton socks. Cotton traps moisture against the skin, softening tissue and making it highly susceptible to tears and blisters.
- Material: Opt for acrylic, merino wool, or bamboo blends engineered to pull sweat away from the skin.
- Non-Binding Tops: Ensure socks have non-binding cuffs that stay up without constricting blood flow around the calves or ankles.
- Padded Soles: Look for extra cushioning along the heel and ball of the foot to absorb vertical impact forces.
2. Custom Orthotics and Multi-Density Insoles
Generic factory insoles rarely provide adequate contouring for diabetic feet. Custom orthotics engineered from multi-density materials (such as Plastazote) conform to the unique shape of the senior’s foot. Plastazote cushions delicate tissue and dynamically redistributes weight away from high-pressure zones like the metatarsal heads.
3. Diabetic Foot Inspection Mirrors
For seniors with limited flexibility or back mobility, a long-handled or telescopic foot mirror with built-in LED lighting is an indispensable tool. It allows users to inspect the bottom of their feet independently every day.
Integrating Exercise Testing with Home Fitness Equipment
When preparing for or simulating exercise tests at home, seniors should select equipment that minimizes joint impact while allowing controlled cardiovascular exertion.
Seniors can utilize low-impact devices to maintain cardiovascular conditioning without placing excessive shear stress on the soles of their feet. For instance, using an under-desk elliptical allows active movement while seated, eliminating heel-strike impact entirely. To learn more about compact home fitness options, read our detailed Cubii under desk elliptical review to see if seated exercise suits your routine.
Additionally, stationary cycling offers an exceptional alternative for cardiovascular testing. Cycling provides smooth, continuous resistance without subjecting the feet to high impact. If you are choosing between different indoor cycle styles, check out our comparison on foldable exercise bike vs standard recumbent bike to discover which seat design and pedal placement offer the highest level of foot and joint stability.
When engaging in strength workouts alongside cardio evaluations, choosing equipment that promotes proper heel positioning is critical. For a comprehensive review of specialized strength gear, explore our top recommendations for the best leg extension and curl machines for seniors with diabetes to maintain lower-body muscle tone safely.
Post-Exercise Foot Hygiene & Inspection Protocol
What you do immediately after an exercise test is just as important as your pre-workout preparation. Sweat accumulation and elevated foot temperature post-exercise create an ideal environment for bacterial growth if not addressed promptly.
Step 1: Immediate Removal and Airing
Remove your shoes and socks immediately after completing physical activity. Allow your feet to air out while you inspect your socks for any signs of spot drainage, blood, or excessive dampness.
Step 2: Thorough Washing with Lukewarm Water
Wash your feet using mild soap and lukewarm water. Always test the water temperature with your wrist or elbow first, as diabetic neuropathy can impair temperature perception in the hands and feet, risking accidental burns. Avoid soaking your feet for extended periods, as prolonged immersion breaks down skin barrier lipids, causing severe dryness and cracking.
Step 3: Meticulous Drying
Pat your feet dry gently using a soft towel—never rub vigorously. Pay special attention to the areas between your toes. Leaving moisture between the toes creates a breeding ground for fungal infections.
Step 4: Moisturize (Excluding Between Toes)
Apply a fragrance-free, therapeutic diabetic foot cream containing urea or ammonium lactate to keep the skin supple and prevent heel fissures. Apply cream generously over the tops and bottoms of the feet, but never apply moisturizer between the toes, as trapped moisture encourages fungal decay.
According to authoritative guidelines from the American Diabetes Association, establishing routine daily foot care and adopting preventative strategies drastically reduces the incidence of severe lower-limb complications. Furthermore, medical clinical resources like the National Institute of Diabetes and Digestive and Kidney Diseases emphasize that early detection of skin breakdown is the single most effective defense against diabetic foot ulcers.
Frequently Asked Questions (FAQ)
Ans. Yes, seniors with diabetic neuropathy can safely perform treadmill exercise testing provided they wear doctor-approved diabetic footwear, moisture-wicking socks, and undergo pre- and post-test foot inspections. If balance or severe sensation loss is present, healthcare providers may recommend non-weight-bearing assessments, such as recumbent bike stress testing.
Ans. Diabetic athletic shoes should generally be replaced every 300 to 500 miles, or every 6 to 8 months of regular exercise. Over time, internal shock-absorbing foams compress and lose their protective cushioning, increasing plantar pressure even if the outer sole still looks intact.
Ans. Clean the area gently with mild soap and water, apply a sterile non-stick bandage, and protect the foot from further friction. Never pop or puncture a diabetic blister, as breaking the skin introduces bacteria directly into deeper tissue layers. Contact your podiatrist or healthcare professional promptly for evaluation.
Ans. Yes. Friction begins immediately upon movement. A prominent sock seam can rub against fragile skin hundreds of times during even a brief 15-minute exercise test. Seamless socks remove raised stitch lines, preventing localized pressure hotspots that trigger blister development.
Final Thoughts on Senior Diabetic Foot Care
Maintaining an active lifestyle through structured exercise testing and regular workouts is one of the best investments seniors can make for their diabetes management. By equipping yourself with proper diabetic footwear, non-binding moisture-wicking socks, and adhering to strict daily inspection habits, you can protect your feet while achieving your health and fitness goals. Prioritize foot safety today to enjoy confident, pain-free mobility for years to come.