
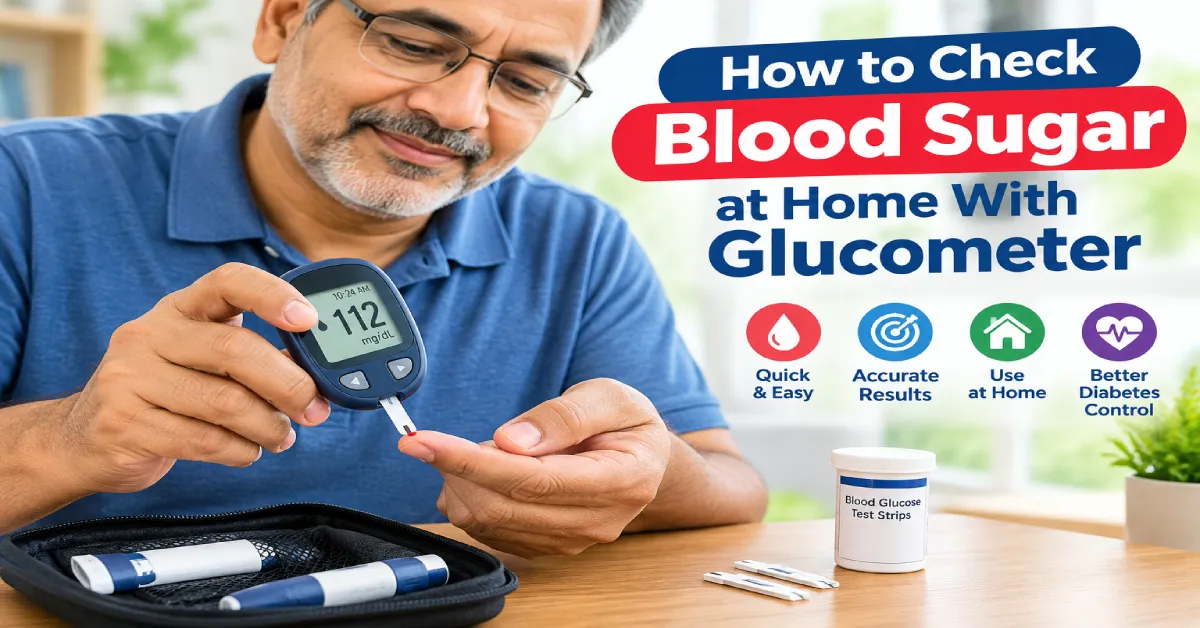
Learning how to check blood sugar at home with glucometer is one of the most essential skills for managing diabetes effectively and keeping your daily health on track. Whether you are newly diagnosed, caring for a senior family member, or updating your daily routine, knowing how to measure glucose levels accurately provides peace of mind. A digital blood glucose monitor gives you immediate feedback on how food, physical activity, stress, and medications influence your body throughout the day.
However, simply having a modern glucose meter is only half the equation. Obtaining clinical-grade accuracy requires consistent habits, proper hand hygiene, and correct testing techniques. In this detailed guide, we break down every step of the testing process, discuss target glucose ranges, highlight key product choices, and answer common questions to ensure your home testing is both accurate and pain-free.
Why Regular Home Blood Sugar Monitoring Matters
Checking your blood glucose levels at home does much more than provide a single number on a screen. It serves as an ongoing communication tool between you and your healthcare team.
- Prevents Unexpected Spikes and Drops: Regular testing helps you identify dangerous spikes (hyperglycemia) or sudden crashes (hypoglycemia) before severe symptoms develop.
- Evaluates Meal Impacts: Different carbohydrates affect blood sugar differently. Testing before and two hours after meals shows you exactly how specific foods impact your glucose levels.
- Tracks Exercise Benefits: Physical activity naturally lowers blood sugar by improving insulin sensitivity. Testing helps you see the direct positive impact of daily movement.
- Optimizes Medication Dosage: Your doctor relies on your home logbook to adjust insulin or oral medication doses accurately over time.
Essential Supplies You Need Before Testing
Having all your testing equipment organized on a clean, dry surface before you begin prevents panic, cuts down on contamination risks, and makes the testing routine effortless.
1. Digital Glucometer
Your blood glucose meter is the central processing unit of your setup. It reads the chemical reaction on the test strip and translates it into a digital number. Modern meters are compact, fast, and require very small blood drops.
2. Model-Specific Test Strips
Test strips contain special enzymes that react with the glucose in your blood drop. Always ensure your test strips match your specific meter model. For instance, comparing popular models like the FreeStyle Precision Neo vs Contour Next One: Best Glucose Meter for Seniors demonstrates how different devices require distinct, non-interchangeable strips.
3. Lancing Device and Sterile Lancets
The lancing device is a spring-loaded instrument that holds a tiny needle called a lancet. It allows you to control the depth of the prick, ensuring you get enough blood while minimizing pain.
4. Warm Water and Soap or Alcohol Waps
Clean skin is critical. Warm water cleanses the skin surface while stimulating blood circulation in your fingers.
5. Logbook or Digital App
Keeping a written or digital record of your numbers, along with notes about meal times and workouts, provides valuable data for your doctor visits.
Equipment Comparison: Popular Home Glucometer Features
Choosing the right blood glucose monitor depends on your personal daily needs, vision clarity, and budget. Here is how popular home testing systems compare in key areas:
| Feature Category | Basic Standard Meters | Advanced Smart Meters | Premium Dual-Testing Meters |
| Primary Focus | Simple, low-cost daily checks | Bluetooth sync & app tracking | Blood glucose + Ketone testing |
| Sample Size Required | Small ( | Very Small ( | Small ( |
| Result Speed | 5 Seconds | 5 Seconds | 5 – 10 Seconds |
| Memory Capacity | 100 – 300 readings | 500+ readings via App | 450+ readings |
| Best For | Seniors wanting large screens | Tech-savvy users tracking trends | Users needing ketone monitoring |
Step-by-Step Guide: How to Check Blood Sugar at Home With Glucometer
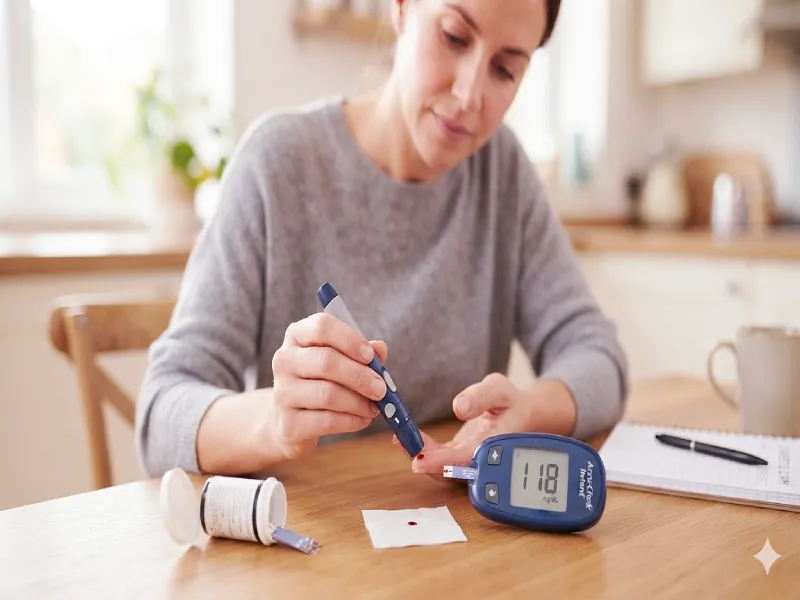
Follow these straightforward steps every time you test to ensure clean samples, reliable readings, and minimal finger discomfort.
Step 1: Wash and Dry Your Hands Thoroughly
Always wash your hands with warm water and soap right before testing. Warm water expands the tiny blood vessels in your fingertips, making it significantly easier to draw a adequate drop of blood without hard squeezing. Dry your hands completely with a clean towel.
Crucial Tip: Never test right after peeling fruit, handling food, or applying scented lotions. Microscopic sugar residue on your fingers can mix into your blood sample and give a falsely high reading. If you use alcohol prep pads, let your skin air-dry completely before pricking, as wet alcohol dilutes the blood. Additionally, if you plan to check your numbers after a light cardio session, using equipment like the 5 Best Foldable Exercise Bikes for Diabetic Seniors can help keep your routine low-impact while ensuring reliable post-workout test results.
Step 2: Prepare the Lancing Device
Remove the cap of your lancing device and slide a new, sterile lancet into the holder until it seats fully. Twist off the round protective disk from the lancet needle and set it aside. Snap the lancing device cap back into place.
Adjust the depth setting dial on the cap:
- Levels 1–2: Ideal for thin, delicate skin or young adults.
- Levels 3–4: Recommended for standard adult skin.
- Level 5: Reserved for calloused, thick skin or heavy manual workers.
Step 3: Insert the Test Strip into the Meter
Take a fresh test strip out of its container and seal the lid tightly right away. Moisture and air exposure can ruin unused strips quickly. Insert the metal contact end of the strip into your meter’s slot. Your meter will power on automatically and display a flashing blood drop icon, indicating it is ready.
Step 4: Prick the Side of Your Fingertip
To avoid pain, avoid pricking the center pad of your fingertip, which contains dense nerve endings. Instead, prick the outer side edge of your fingertip.
Place the lancing device firm against the chosen side spot and press the trigger button. After the click, gently massage the base of your finger upward toward the tip to form a soft, round drop of blood. Do not squeeze or pinch the tip forcefully, as this pushes clear tissue fluid into the sample and alters the result.
Step 5: Touch the Test Strip to the Blood Drop
Bring your finger to the test strip and gently touch the edge of the blood drop to the strip’s channel tip. Modern test strips act like a tiny straw, pulling the exact required volume of blood into the strip automatically. Do not smear the blood on top of the strip.
Step 6: Note Your Reading and Clean Up
Your meter will display a brief countdown and show your final blood glucose reading in mg/dL (or mmol/L).
- Write it Down: Record the number, current time, and whether it was taken before breakfast, after lunch, or post-workout.
- Safe Disposal: Remove the used strip and place it in the trash. Carefully press the lancet needle into its protective cap and dispose of it in a heavy plastic sharps container.
Standard Target Blood Sugar Ranges
Understanding your numbers helps you react appropriately. While your personal target range should always be determined by your personal physician, standard clinical targets established by the American Diabetes Association provide a trusted reference point for non-pregnant adults:
| Testing Time | Target Range for Adults with Diabetes | Normal Range for Non-Diabetics |
| Fasting / Before Meals | 80 – 130 mg/dL | 70 – 99 mg/dL |
| 1–2 Hours After Meals | Less than 180 mg/dL | Less than 140 mg/dL |
| Before Bedtime | 100 – 140 mg/dL | Under 120 mg/dL |
5 Practical Tips for Pain-Free Finger Pricking
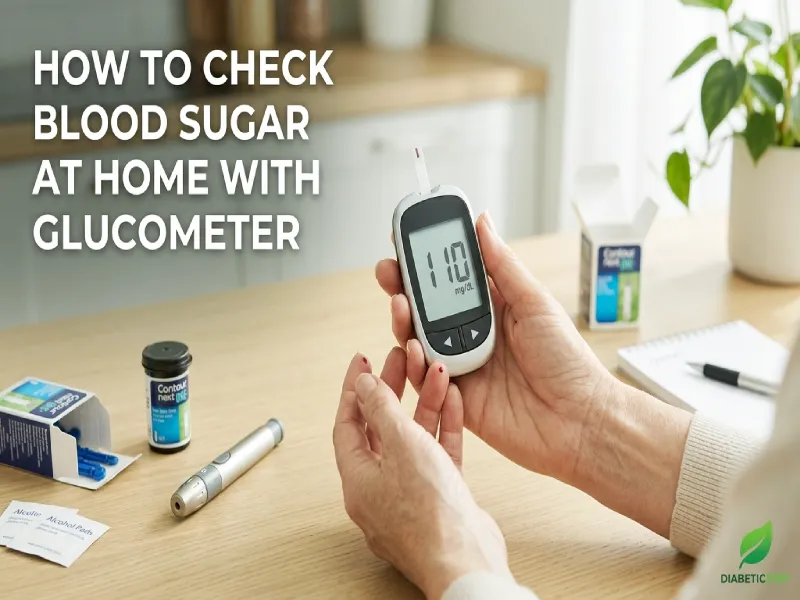
If finger pricking causes anxiety or sore spots, these proven practical strategies will make daily testing comfortable:
- Rotate Your Fingers Daily: Never use the exact same finger or spot twice in a row. Rotate through all eight fingers systematically across the week.
- Use the Sides Only: The sides of your ring finger and pinky finger generally have the lowest sensitivity to prick pain.
- Never Reuse Lancets: Reusing a needle dulls its fine tip instantly. A dull lancet tears the skin rather than piercing it cleanly, causing unnecessary pain and scarring.
- Keep Hands Warm: Cold hands make blood flow sluggish. Rub your hands together or rinse them under warm water for 30 seconds before testing.
- Set the Depth Correctly: Use the shallowest depth setting on your lancing device that still yields a full blood drop.
How Exercise Interacts With Home Readings
Physical movement is a natural way to manage blood sugar, but it directly alters your testing numbers. During exercise, your muscles absorb circulating glucose for fuel, improving insulin sensitivity for up to 48 hours post-workout.
Testing your blood sugar before and after physical activity helps you prevent sudden low blood sugar drops and optimizes your routine safely. To learn more about combining home testing with safe movement, read our detailed guide on How Exercise Lowers Blood Sugar Immediately: A Diabetic’s Guide to Safe Home Workouts.
Troubleshooting Common Errors and Inaccurate Readings
If your meter gives an unusual reading or shows an error message on screen, review these common troubleshooting checks:
- Inadequate Sample Size: An incomplete blood drop causes error codes on many basic meters.
- Damaged or Old Strips: Using test strips past their expiration date or stored in hot, humid rooms leads to false readings.
- Extreme Temperatures: Glucometers operate best at room temperature. Avoid leaving your kit inside hot cars or direct sunlight.
- Low Battery Power: Replace your meter’s coin batteries as soon as the low-battery warning icon appears.
FAQs: How to Check Blood Sugar at Home With Glucometer
Ans. First, wash your hands thoroughly with warm soap and water, dry them completely, and retest with a new strip on a different finger. Sugar residue on your skin is the most common reason for unexpected spikes. If the second reading remains high, follow your doctor’s protocol for high blood sugar or drink water and contact your healthcare provider.
Ans. Some meters allow alternative site testing (AST) on your forearm or palm. However, alternative sites reflect changes in blood sugar more slowly than fingertips. Always use your fingertips if you suspect your blood sugar is dropping rapidly or after meals.
Ans. Testing frequency depends entirely on your specific type of diabetes and treatment plan. People using insulin may need to test 4 to 8 times a day, while those managing Type 2 diabetes with diet or oral medications may test 1 to 2 times daily or as recommended by their physician.
Conclusion: of How to Check Blood Sugar at Home With Glucometer
Mastering how to check blood sugar at home with glucometer is one of the most empowering steps you can take in your daily diabetes management journey. By building a consistent habit—focusing on proper hand hygiene, using fresh test strips, rotating finger prick sites, and accurately recording your numbers—you gain valuable, real-time insights into your body’s unique health patterns.
Remember that a single reading is simply a helpful piece of data, not a test grade. Use your logged numbers to make informed choices about your diet, stay motivated with your physical activities, and collaborate effectively with your healthcare provider. With the right tools and steady techniques, maintaining daily blood glucose accuracy at home becomes a seamless, stress-free part of your routine—a approach strongly encouraged by health experts at the Mayo Clinic.